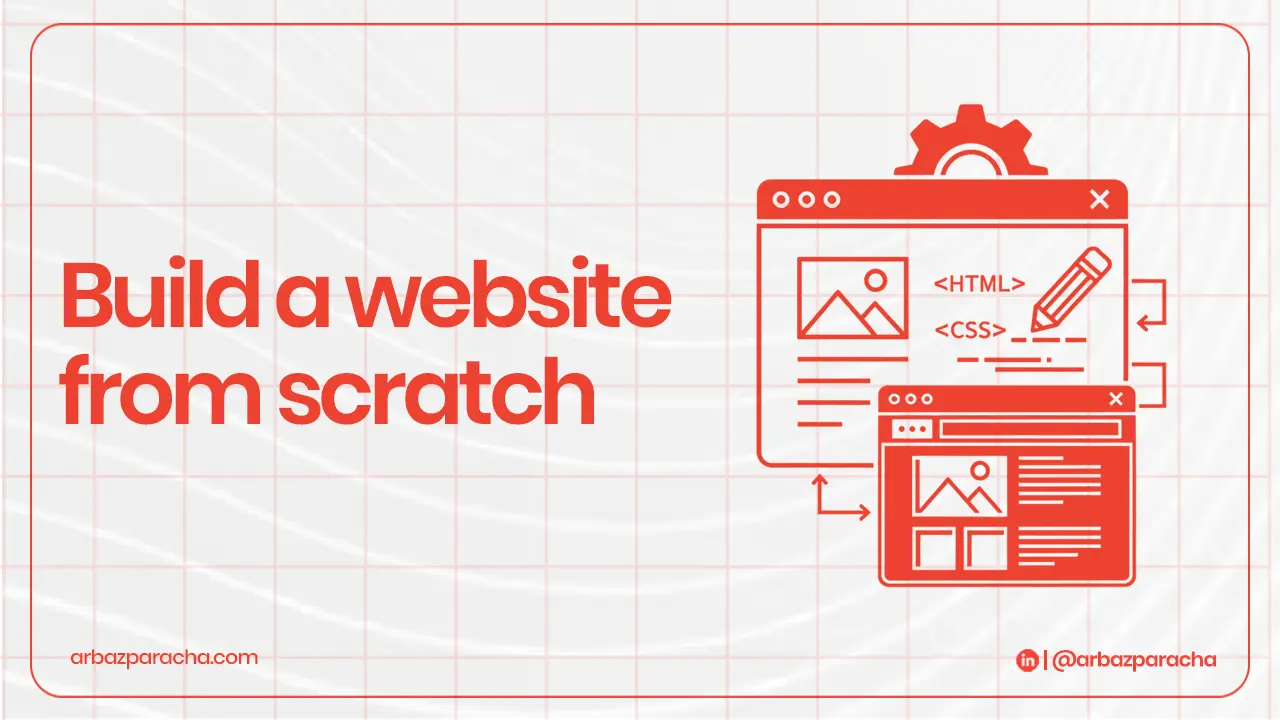
Hey there! So you want to build your own website from scratch? I get it, it seems scary at first. But here’s the truth… if you can use social media, you can build a website.
I’ve been helping people create websites for over 10 years, and I’m going to walk you through this step-by-step. No tech jargon, no confusion just a simple guide to building a website that actually works.
Let’s dive in!
Step 1: Define Your Website Purpose & Audience
Before you touch anything technical, ask yourself, Why am I building this website?
Are you:
- Selling products online?
- Showcasing your work?
- Starting a blog?
- Getting more customers for your business?
Your answer changes everything. An online store looks totally different from a personal blog.
Now, who’s visiting your site?
Think about your ideal visitor. Are they young tech lovers or older professionals? What problems do they have that you can solve?
Describe your perfect visitor in one sentence.
For example: ‘Busy moms looking for quick healthy recipes’ or ‘Small business owners who need affordable marketing tips.’
When you know your why and who, building your website becomes 10x easier
Step 2: Estimate Your Budget
Let’s talk money. Building a website as a beginners doesn’t have to break the bank.
Here’s what you’ll actually spend:
- Domain name will cost $10-15/year … your website address like “yourname.com”
- Hosting will cost $3-10/month … where your website lives online
- Website builder or theme? $0-40/month …the tool you’ll use
- Extras will be $0-100/year … email, security, plugins
Total for your first year: $150-$500
You can start cheaper around $150 or go premium up to $500 depending on your needs. Either way, it’s way less than hiring someone to build it for you which costs thousands!.
My advice? Start with a modest budget. You can always upgrade later when your site makes money.
Step 3: Choose Your Platform
Website Builder vs CMS vs Custom
This is the biggest decision you’ll make. Think of it like choosing between driving an automatic car, manual car, or building your own car from scratch.
Website Builders (Like Wix, Squarespace)
- Best for Complete beginners
- Pros: Super easy, drag-and-drop, everything included
- Cons: Less flexibility, harder to switch later
- Perfect if: You want something simple and fast
- Best for People who want more control
- Pros: Tons of customization, powers 40% of the web, great for growth
- Cons: Slight learning curve, you handle more yourself
- Perfect if: You’re serious about your website and want room to grow
Custom Code
- Best for Tech experts or big companies
- Pros: Unlimited possibilities
- Cons: Expensive, time-consuming, requires coding skills
- Perfect if: You have unique needs and a big budget
Start with WordPress. It’s the sweet spot between easy and powerful.
Step 4: Get Your Domain Name
Your domain name is your address on the internet. Think amazon.com or netflix.com. Now it’s your turn!
How to pick a great domain?
- Keep it short and simple
- Make it easy to spell
- Use .com if possible
- Include your brand name
Where to buy domains?
- Namecheap
- Google Domains
- Domain.com
Don’t overthink this! Pick something clear and move forward. You can always buy more domains later.
Step 5: Choose Your Hosting Provider
Your hosting provider is like renting space for your website to live. Without hosting, your website can’t exist online.
What to look for?
- Uptime Should be 99.9%+
- Fast hosting
- 24/7 help when you need it
- Easy setup
Hosting options for beginners
1. Shared Hosting ($3-10/month)
Best for new sites with low traffic. You share server with other websites. Recommended ones are Blueshot, Siteground, Hostgrator
2. Managed WordPress Hosting ($15-40/month)
Build specifically for wordpress and it’s faster, more secure and less hassle. Recommended options are WP Engine, Kinsta (when you’re ready to invest)
Start with Bluehost or SiteGround shared hosting. They’re affordable, reliable, and perfect for learning how to build a website from scratch.
Step 6: Build Your Brand Identity
Now the fun part, making your website look like YOU!
1. Choose Your Colors
2. Pick Your Fonts
3. Create or Find Your Logo
4. Define Your Style
Step 7: Create a Content Strategy for Your Pages
Content is what your visitors actually read and see. Let’s map out what pages you need.
– Homepage
– About Page
– Services/Products Page
– Contact Page
– Blog
Every page should answer… What’s in it for me? from your visitor’s perspective.
Step 8: Design and Build Your Website
Time to actually build this thing! Don’t worry, it’s easier than you think.
If you’re using a website builder like Wix or Squarespace, just pick a template that fits your industry, then replace all the demo text and images with your own stuff. It’s really that simple, no coding needed.
For WordPress users, most hosting companies have a one-click WordPress install button. Once it’s installed, choose a free theme like Astra or GeneratePress, then add a few essential plugins like Yoast SEO for search optimization and Contact Form 7 for your contact page.
Step 9: Security & Legal Essentials
Not the most exciting part, but super important.
SSL Certificate encrypts data between your site and visitors. You need this because Google ranks secure sites higher, Browsers warn people if you don’t have it, and moreover it protects visitor’s information
Most hosting providers include free SSL.
Set Up Backups
Think of backups as insurance. If something breaks, you can restore your site instantly.
Install a backup plugin like UpdraftPlus and BackupBuddy
Set it to backup automatically every week. Store backups in the cloud
Legal Pages You Need but don’t skip these! They protect you legally:
- Privacy Policy – Explains how you handle visitor data
- Terms of Service – The rules for using your website
- Cookie Notice – Tells visitors about cookies you use
You can use free generators like, Termly.io, PrivacyPolicies.com and FreePrivacyPolicy.com
Just answer their questions and they’ll create the pages for you. Add links to these pages in your footer.
Step 10: Performance Optimization & Testing
A slow website kills your success, so make yours lightning-fast!
Speed It Up by compressing images, installing a caching plugin, choose a fast theme and use a CDN
Test Everything
Before you launch, test your site thoroughly:
→ Click every button and link and make sure they work!
→ Submit your contact form, do you receive the message?
→ Check on your phone for friendly design
→ Test in different browsers
→ Run Google PageSpeed Insights
Fix any issues you find. A broken site at launch is embarrassing and costs you visitors.
Step 11: Launch Checklist + Post-Launch Growth Plan
You’re so close! Let’s make sure everything’s ready for the big day.
Pre-Launch Checklist
→ All pages complete with no “Lorem Ipsum” dummy text
→ Contact information accurate
→ Google Analytics installed (track your visitors!)
→ Google Search Console set up (helps with SEO)
→ All images have alt text (good for SEO and accessibility)
→ Social media links work
→ Site loads fast (under 3 seconds)
→ Favicon added (little icon in browser tab)
→ 404 error page created (for broken links)
Launch Day
– Take your site off “maintenance mode”
– Share on social media
– Email your contacts
– Submit your sitemap to Google
– Celebrate! You did it!
Post-Launch
Building your website is just the start. Here’s how to grow:
Week 1-4:
Monitor analytics daily. Fix any issyes that come up and start creating content
Month 2:
Post new content weekly and start building an email list. Engage on social media and ask for the feedback from visitors
Month 3+:
Optimize for SEO and build backlinks. Update old content to keep it fresh and consider paid ads if budget allows
Your website is never done. Best performing sites keep on improving based on what visitors want.
Final Thoughts? You’ve Got This!
Look, I know building a site from scratch seems overwhelming at first. But thousands of people just like you launch websites every single day. You don’t need to be a tech genius or have a huge budget.
You just need a clear purpose and willingness to learn as you go
The hardest part is starting. So stop reading, stop planning, and start building.
Your website is waiting. Your audience is waiting. What are you waiting for?
Let’s make it happen! 🙂